If you like to recycle a little bit than this is a gift wrap made for you, I'm using a pink tissue paper wrinkled on purpose (reused from a present) and scrap cardboard paper. I ripped off the top layer to make the paper ribs peaking through giving the wrap an interesting look. I also added 'a ribbon' from the same material. It is basically a piece of cardboard roll cut couple times and attached with double side tape. Happy wrapping!
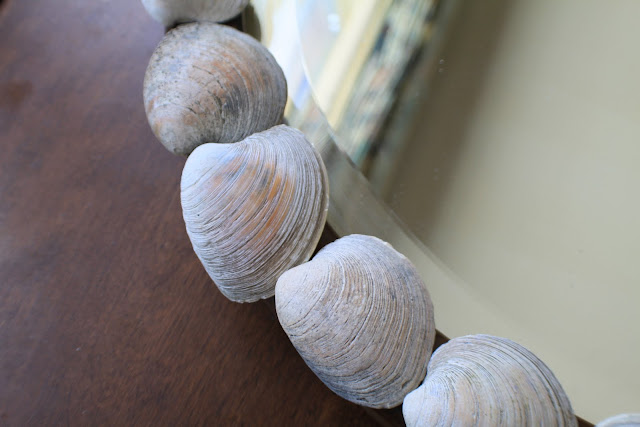
Look what I found at the beach... well, not the whole frame but the seashells on it:). It cost me a lot of work to make it look like this. I was searching for the right shells for couple days. The mission was simple... walking on the beach and looking for shells in same size! The outcome of couple beach walks... seashells of different sizes for couple more frames, a lot of colorful sea-glass, rusted metal wheel, rusted key, an old metal spoon (maybe from a shipwreck), and Darren rolling eyes by all that junk that was spread out on our dining table for a while, hehe.
So, how it goes? The process is very easy and you just need couple items - wooden frame with a mirror or without (you can make a picture frame for example), hot-glue gun, and couple shells. Don't use the glue right the way. First, spread out the shells around the frame the way you want it. Than, it's time to use the gun:). Take the first shell positioned on the frame and apply a little bit of hot glue around its edge and attach it quickly back to the wood frame, one after each other. Have fun!!!
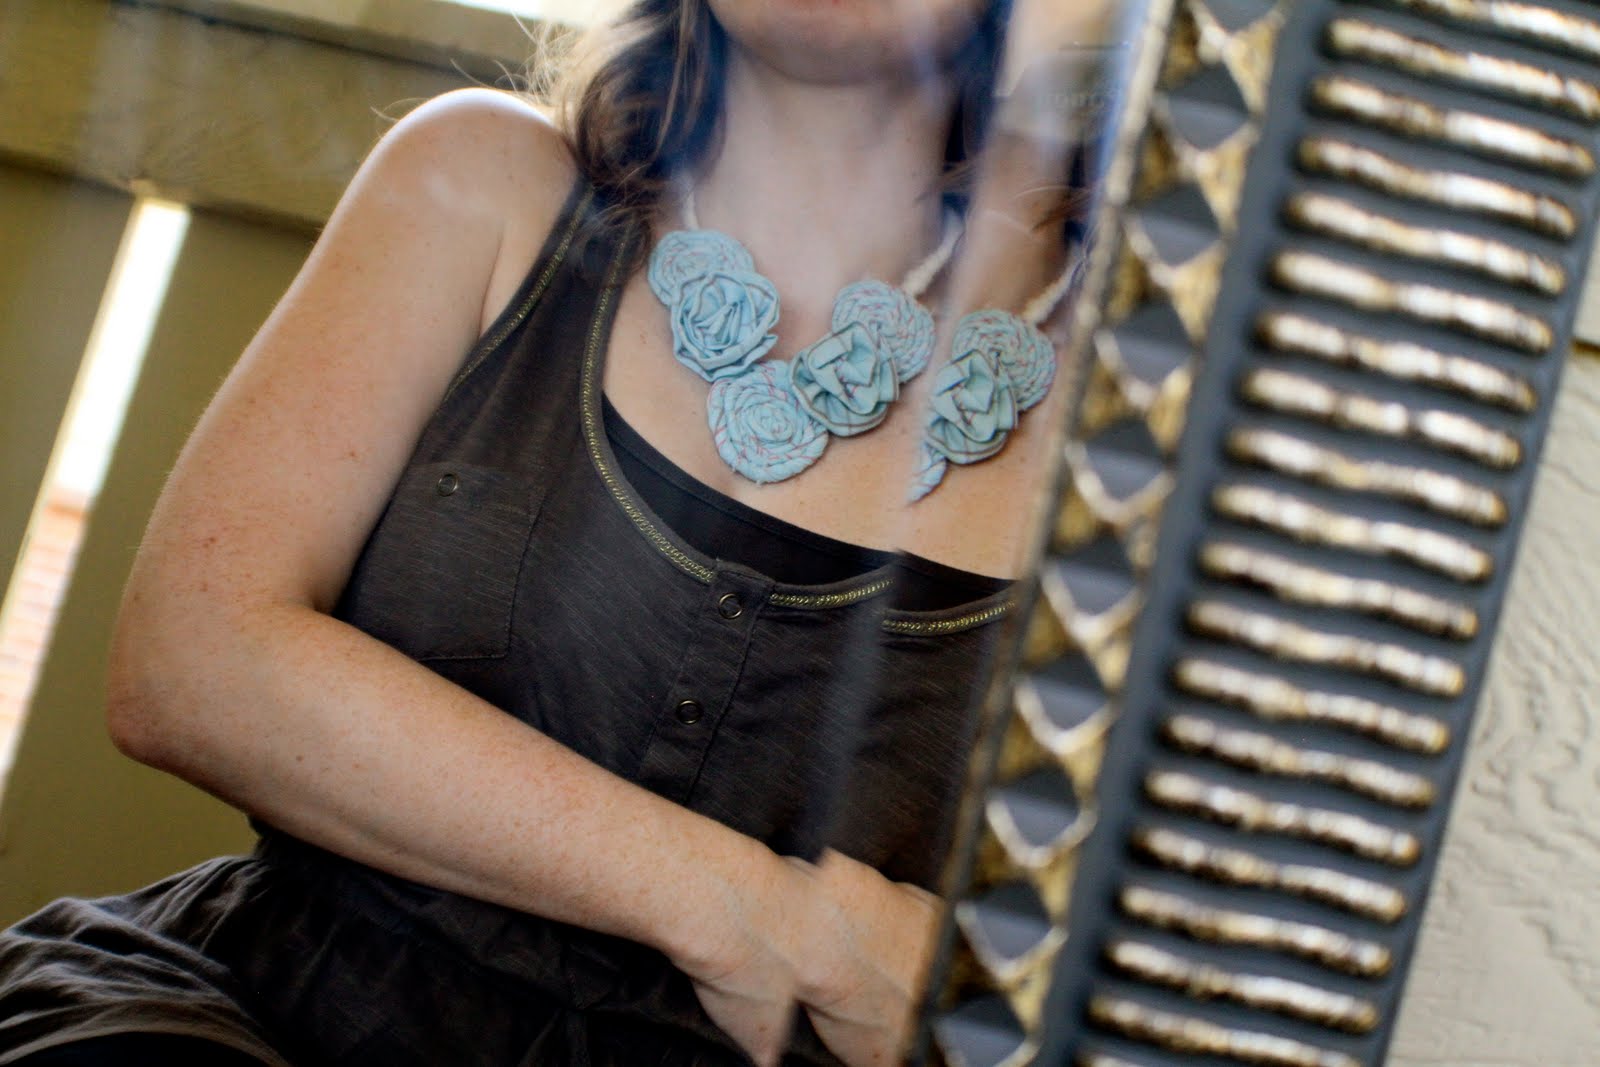
I had more plans with my old pajama pants... more jewelry matching the brooch in previous project.
I was little bit frustrated though because all I had was a dull needle
made of really soft metal. Every time, I stick it through a thicker
material or more layers it bent like rubber. So, it took me quite a time
and couple stabbed fingers to finished all the fabric parts. But, I
managed it and I love the outcome! I might try a different color and
fabric for the next piece. Maybe, I can use my underwear this time. | Tak som ten pyžamový materiál znovu využila ... náhrdelník v rovnakom štýle ako brošnička
v prvom projekte. Bola som trošku frustrovaná, kedže jediný šitcí
nástroj bol tupý ako... ani neviem k čomu to mám prirovnať. Ihla sa
stále ohýbala ak som mala v ruke trošku hrubšiu časť narolovanej látky,
takže som skončila s dokonale dopichanými prstami. Ale podaeilo sa mi dokončiť a celkom som spokojná s výsledkom! Asi vyskúšam aj
iné látky a farby v dalšom projekte. Vyskúšam trebárs aj
spodné prádlo.
They are two ways - You take a seed, plant it into the soil, and water it. Or you make it my way. I have to admit, I stole couple of the buxus leaves from the front yard at the place where we had a rented apartment while staying in RI. Well, I was bored and the bush needed a trim anyways:)
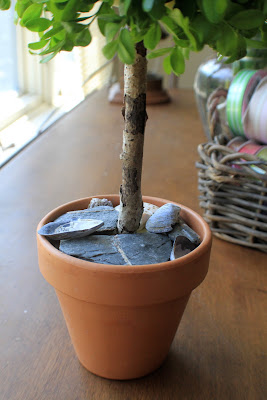
This project was very simple. I know I always say it's simple but honestly, it is very easy. I wasn't at home in Slovakia, which means I was missing couple floral items that you can find at my house any time - like oasis... spongy foam for flower arranging. But, I found a piece of used oasis for dry flowers from previous renters in one of the kitchen cabinets. The trouble is that the dry one is harder to soak up with water. So, if you want to work on your own tree, just use the one I mentioned before (usually in dark green color but the company came up with new fun colors as well). I made a ball out of the foam using a knife. That will be the base for the buxus leaves. Look for straight piece of stick... that will be your tree trunk. The additional items you need is a flower pot, couple stones & see shells, and of course bunch of buxus leaves.
And because, I didn't have enough of the floral foam, not even the dry one, I had to improvise. I centered the stick in the pot and stuffed the pot with couple plastic bag. So much for recycling:) Than, I just covered the bags with stones and shells that I found at the beach. In your case, please use a piece of oasis that you cut in order to fit it in the pot and use as a base for the stick. Than, you just need to attach the formed oasis ball to the top of the stick (trunk) and you can start to arrange the leaves around the ball. You can also use any full bloom flowers (carnations look awesome). I hope I inspired you today a little bit. Have fun making trees!:)
Well, at least it should be a hot sunny summer but it looks like we are changing into a rain forest here. At least I have a hobby that keeps me busy while the sky cries out loud.
Simple card... again. The cactus is a cut out from a magazine. The sun is made with 2 pieces of punch out flowers with one of my fiscars punch. Both - cactus & the sun are attached to a white blank card with couple self-adhesive squares to give them a little bit of plasticity. A card with a summer feeling:)
She is from a milk company brochure. I got her with our milk delivery in Denver, which was awesome by the way. We got fresh milk and chocolate milk directly from cows every week (the choc milk was from a cow that was fed only by chocolate, true story!). But honestly, you could taste the difference right the way. That would be one of the reasons why I would move to Denver for ever. And, this is from a person who doesn't even like the milk that much:)
But, back to the moo cow on the picture. She was on the brochure with all the info about the milk products that the company offered and so. I cut her out because she was just too cute to be trown away and I saved the pic for later... you know when the mojo is high and working:)
I used the same technique that I showed in wrap paper making. I even picked the same colors and the same wooden fabric stamp but in a different way. I just used the green paint for the background and the yellow for the dotted stamping. I added couple foam adhesive squares to the cow picture and the word sentiment from a magazine free kit to make it stand out against the color splash. Very artsy and fun to make! I usually enjoy every second when playing with paint. I guess it's the great feeling acting like a child without any rules comparing it with mud games or jumping into paddles in my shiny green rainboots when I was kid. So enjoyable:)
...I stole it from a wine bottle:) While we were in Jamestown, RI, one of our friend Shannon who lives near by came for a visit and she brought us a bottle of red wine. It had this grate B&W tag with a layer cake on it, which is also the name of the wine 'Layer Cake' (very good wine by the way). So, after the wine was gone and I had scissor handy I cut out the cake, add couple foam squares to it, and stuck it to the green blank card. 'Marvelous' the card says and truly it was (the wine I mean). The end!
Another quick card design from me as I'm busy woman right now, very wedding preparation busy, hehe. I used a scrap red paper (from an add brochure) and 4 foam adhesive squares to lift it a little, blank yellow card from Michaels, a little cute crab punch from Fiscars, and 'a small miracles' stamp that I got at Michaels as well. Enjoy the everyday little things and see them as small miracles!
...and alive, well kinda:) I had little bit issues with my wedding preparations and I am stress out as hell! 2 weeks ago they canceled my place that was reserved since March because of technical issues and I was looking for a different place that would be at least half as good. I found couple that could work but this week the owner of the canceled place got back to me with a great news - the problem is solved and I can have the place!!! I am really happy and also concerned how everything will worked out. Now, I understand all those brides on the US show - Bridezilla. The only difference is that I am organizing almost everything by myself. Well, I am difficult person as well but in this case my family is aggravating me not the opposite. I believe the wedding will be fun, I hope I won't have a collapse:)
I forgot to take pics the first time I went to check out the place. Hopefully, I will take couple this weekend when I will bring the deposit. For now I will just describe it a little - before a children camp -> now, completely renovated wooden cottages, hiding in a forest, and there are sheep and peacocks near by. So idyllic! Will see how idyllic everything will be on the 25. September. Right now I am working on the menu - I think I will have just a nervous brake-down over a chicken:) So, hold your thumbs for me!
xoxo Lucy
PS: Did u see the new look of my blog??? I just love the new layout designs at blogger! It was about time:) I have to work on my banner a little bit though, it looks little bit odd now with 2 titles:)